- Help Center
- Manage
- Manage your TrekkSoft website
-
Getting Started
-
Sell
-
Manage
-
Grow
-
FAQs
-
Documentación en Español
- Add-ons
- Integración avanzada de Facebook
- Hacer rebooking, cancelar y reembolsar reservas
- Visualización de los Detalles en la Canasta y Ajustando el Balance de las Cuentas
- Consiga toda la información sobre sus clientes con los Campos personalizados
- Gestiona tus agentes
- Colores, Fuentes, Logos y Temas
- Customiza tus emails
- Customiza tus Términos y condiciones
- Customiza tus mensajes de texto
- Integración básica de Facebook
- Reglas de Programación - Vale
- Crear páginas
- Orden de Páginas y Navegación del Menú
- Crear actividades
- Customiza tus entradas en PDF
- Genera un botón de reserva para tu página web oficial
- ExperienceBank
- Visualizar y Gestionar su Programación de Actividades
- Agregar Categorías de Precios
- Usa tu propio dominio con TrekkSoft
- Códigos de descuento y tarjetas regalo
- Crear Reglas para Programas
- Artículos de tienda
-
Deutsche Dokumentation
- Expedia Integration
- Checkout, Steuern und Gebühren
- Rückerstattungen und Gutschriften an Kunden
- Ertrags-Management
- Informationen von Ihren Gästen abrufen - Benutzerdefinierte Felder
- Farben, Schriftarten, Logos und Designs
- Aktivitäten erstellen
- Aktivitäten-Add-Ons
- Rabattcodes und Geschenkkarten
- Passen Sie Ihre SMS an
- Aktivitätenkategorien
- Konfigurieren Sie PDF-Tickets
- Mit der Musement-Plattform verbinden
- Konfigurieren Sie Emails
- Zahlungslinks
- Seitenreihenfolge und Navigationsmenü
- Konfigurieren Sie Ihre AGB
- Preise zu Touren und Aktivitäten hinzufügen
- Zeitpläne erstellen
- Auszahlungsmethoden
- Partnerschaften und Reselling
- Agenten
- Anfragen und Private Touren erstellen
- Anzeigen und Verwalten von Zeitplänen
- Zeitpläne für Verleih
- Detailansicht Warenkorb / Kontoguthaben
- ExperienceBank
- Anzahlungen
- "Jetzt buchen!" Buttons für externe Website erstellen
- Shop-Artikel
- Kalender Synchronisation Für Google Kalender und andere
-
Documentazione in Italiano
- Connetti a Esperienze TripAdvisor (precedentemente noto come Viator)
- Crea tu perfil
- Personalizza i tuoi termini e condizioni
- Commissioni per Agenti e Partner e Tassi netti
- Partnership e rivendita
- Campi personalizzati
- Creare regole di programma
- Categoria di prezzo esclusiva/privata
- Sincronizzazione calendario per Google Calendar e altri
- Gestione del rendimento
- Gestisci le disponibilità di posti in base alle risorse di inventario
- Crea una Pagina
- Attività
- Dettagli carrello - Link di pagamento
- Creare richieste e tour privati/personalizzati
- Colori, Caratteri, Logo e Temi
- Menù di navigazione
- Aggiungere categorie di prezzo
- Voucher
- Acquista articoli ed estensioni attività
- Cancellare e rimborsare un cliente
- Creare Attività
- Funzionalità notifica SMS
- Visualizzare e gestire i tuoi programmi di attività
- Musement & TrekkSoft
- Noleggio
- Agenti e diritti utente
- Codici sconto e Buoni regalo
- Personalizza i tuoi biglietti PDF
- L’integrazione di Expedia
-
Product updates
Thank your users for buying
In this article, you'll learn how to customize thank you page for your TrekkSoft website and booking widget integrated on your website.
Last update [Sep, 5, 2022]
Here's an overview of what we cover in this article:
- Overview
- Customize Thank you page for your TrekkSoft website
- Customize Thank you page for your Booking Widget on your website
________________________________________________________________________
Overview
A thank you page is a must if you're thinking about up selling the booking that you just made, or at least giving your customer activities to consider when taking their trip. It's a good opportunity to thank them for the money they just spent, suggesting other activities, reminding them to like your Facebook page.
________________________________________________________________________
Customize Thank you page for your TrekkSoft website
You can create or customize the thank you page for your TrekkSoft website as per your desire by following the steps given below:
- Navigate to Settings > TrekkSoft Website Builder > Pages
- Go to the Thank you page tab from the opened window in the right side.
- Click Custom page to create a customized thank you page.
Now you will see a section for Thank you text, this first message is mandatory only if you're not planning on editing the content elements of the page.
If you're thinking about editing these elements, skip the text box and hit Custom Page.
First, you'll see all the languages active in your account. Those are the possible thank you pages that you can have:

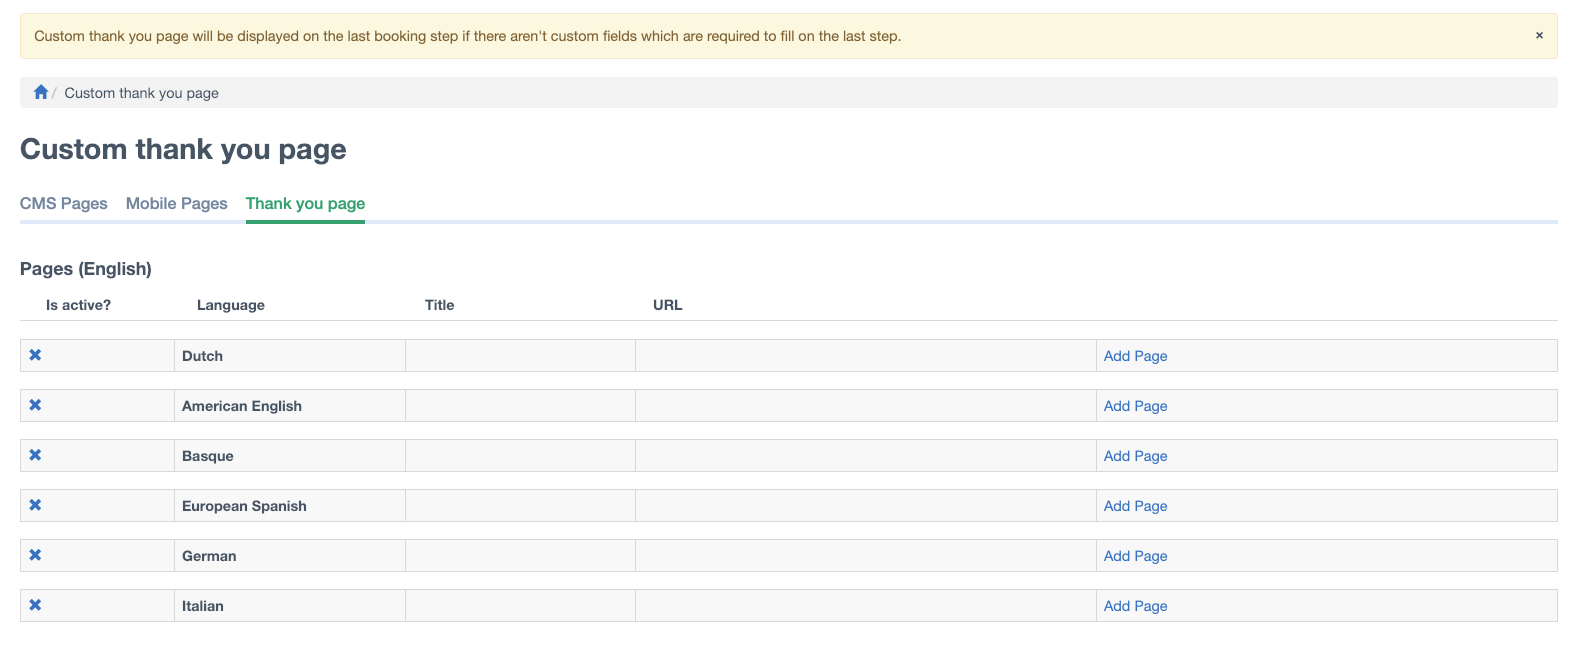
When you hit "Add Page" if it's for the first time or Edit Page if it's already created, you'll see the same page we see when we create a new page in the system:

Once you've saved your preferences for the thank you page, we'll start adding page content, as usual:

IMPORTANT NOTE! This Thank you page can be useful to track conversion tracking using Google Analytics. Checkout more details about tracking thank you page here.
________________________________________________________________________
Customize Thank you page for Booking Widget on your website
Since you are managing your own page, you can only customize the thank you message text for the Booking Widget integrated on your own website. To customize thank you message text, follow the steps shown below in the screenshot:
IMPORTANT NOTE! To track visitors with Google Analytics when Booking Widget is installed on your website cross-domain tracking needs to be set up. Checkout more details about cross domain tracking here.