Here is an overview of what we cover in this article:
_______________________________________________________
Overview
This allows you to add Facebook “Like” buttons and display Facebook reviews on your TrekkSoft website which can be very persuasive when your customers/guests are thinking about booking one of your activities!
To add Facebook to one of your Trekksoft pages, you do this in two ways:
_______________________________________________________
Add your Facebook URL into your Apps menu
To add your Facebook URL, follow these steps (or watch the video below):
- Log into your Backoffice in your Trekksoft site (e.g. yoursite.trekksoft.com)
- On the left-hand menu, navigate to Settings > Merchant Settings > Apps
- Once in the Apps menu, click on the configure button next to the Facebook app

- Enter your Facebook URL in the Facebook Page URL Path field
- Next, tick to enable/disable whether you wish to view the like button and Facebook comments or not
- Finally, click Save to save the changes.

_______________________________________________________
Add the Facebook element into your page
To add the Facebook element to one of your CMS pages, follow these steps (or watch the video below):
- Log into your Admin Desk in your Trekksoft site (e.g. yoursite.trekksoft.com)
- On the left-hand menu, click on Settings > Trekksoft Website Builder > Pages
- You are now in the Web Pages Dashboard. Find the page you wish to add the element, in the Content column, click on the actions dropdown button and click on edit content elements

- In the top-right corner, click on the add content button

- Scroll to the bottom and click on the Facebook Like box element

- Complete the three fields that are requested:
- Name - Enter a name for this element (this will not be visible to your customers, only in your Admin Desk)
- Layout Position - Select where on your website you would like the element to appear depending on your layout (find out more about editing CMS pages here)
- Facebook Page URL - Enter your Facebook URL
- Finally, click Save.

_______________________________________________________
Preview Page
Once the element is saved, you can click the preview button in the top right-hand corner to see how your page looks.
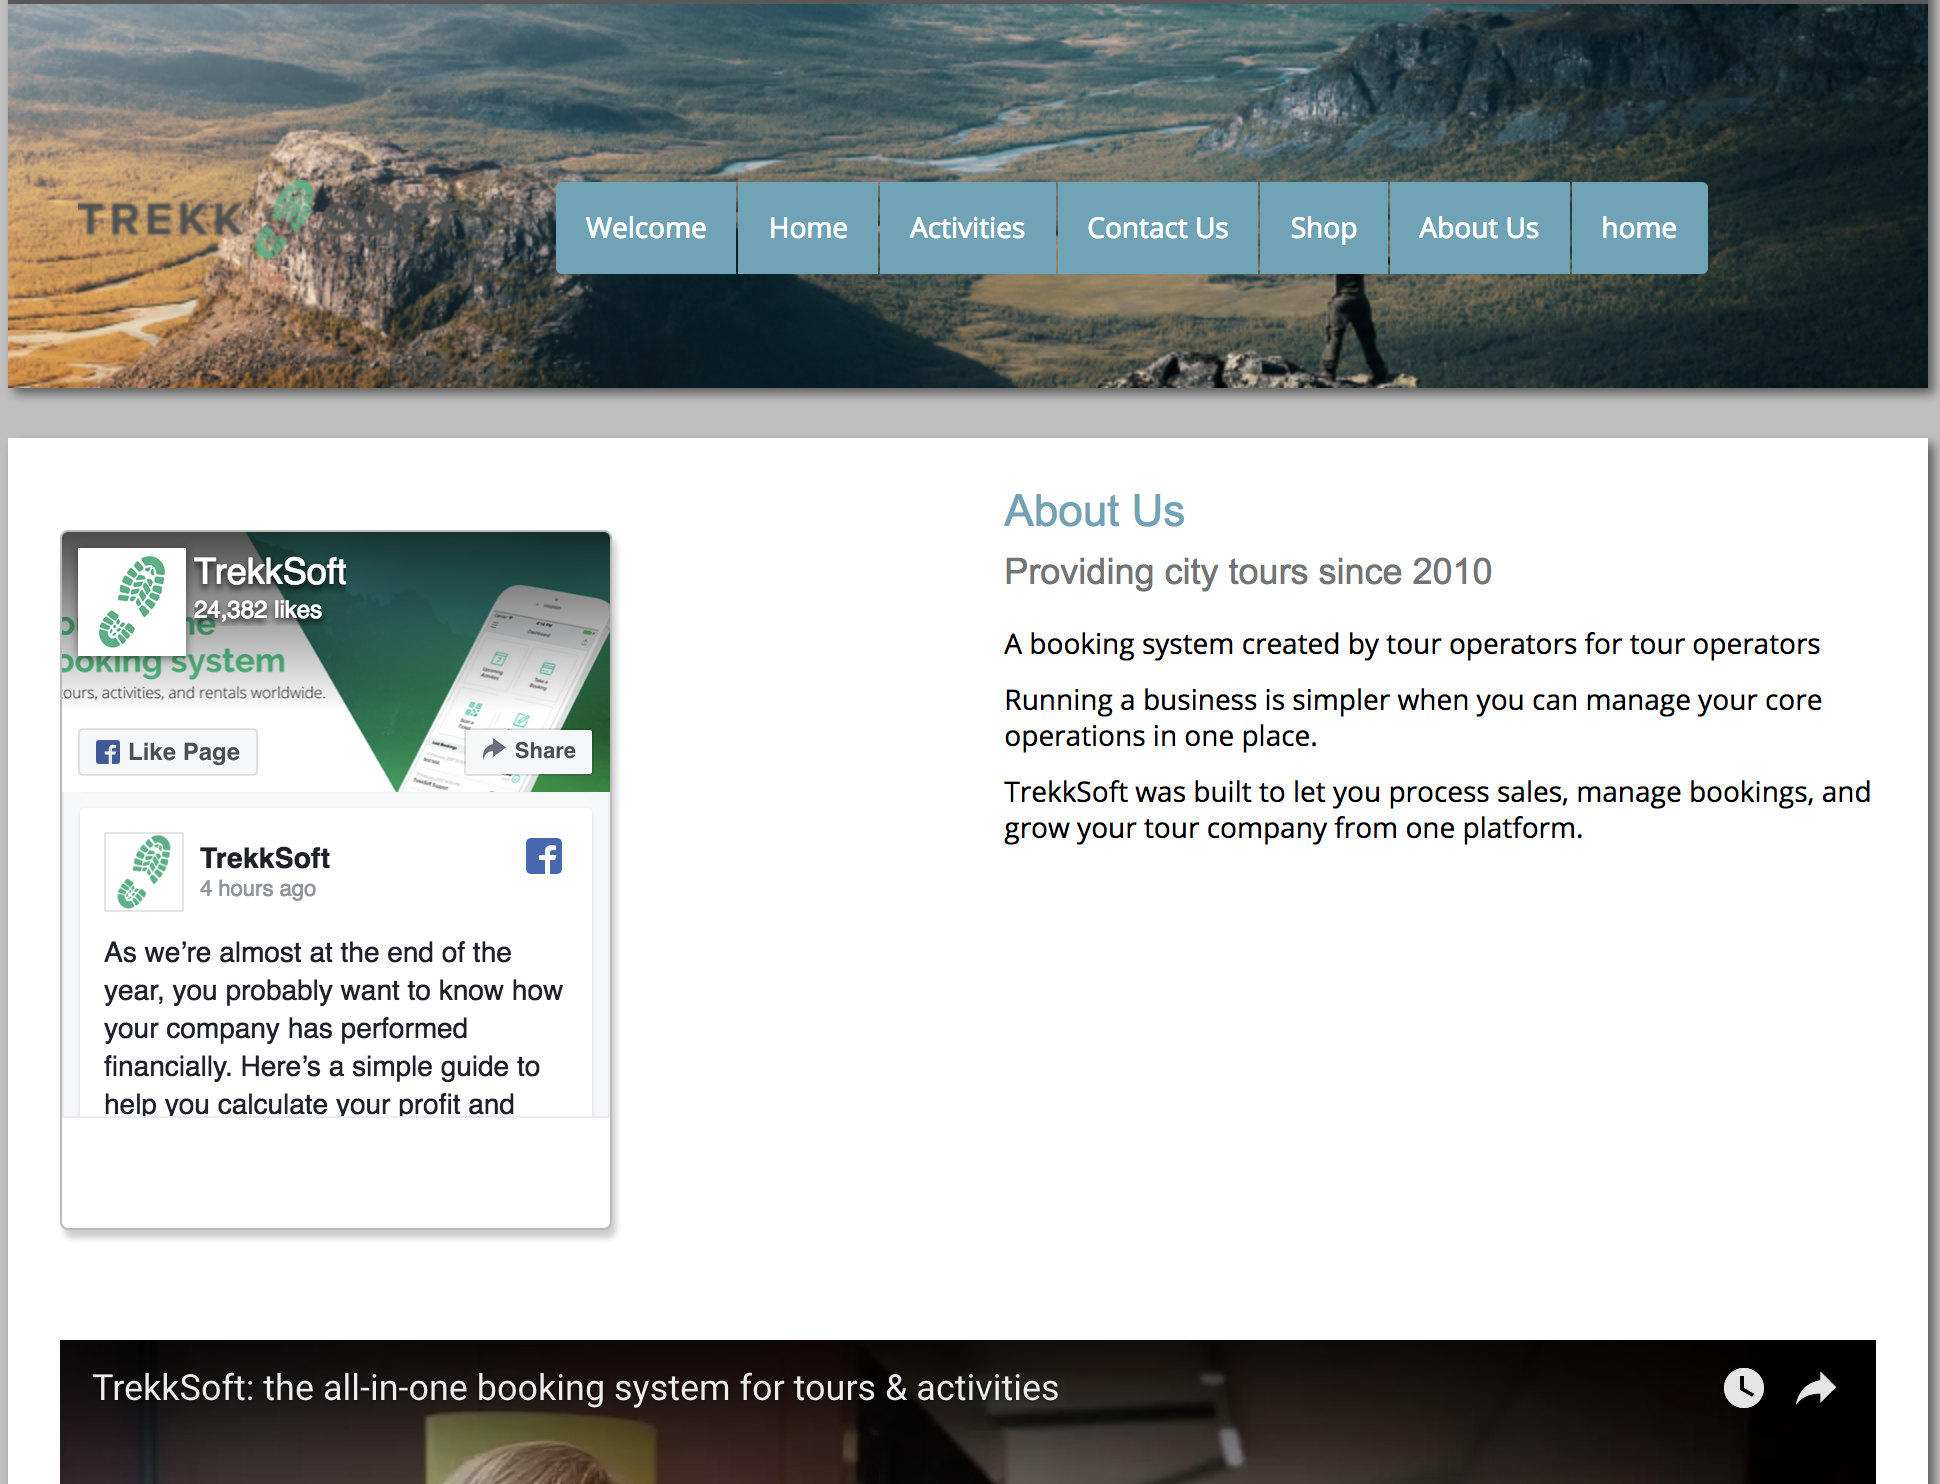
If you are building your website with TrekkSoft, you can also add a Facebook widget as a website element. The element will show your last posts, how many likes you have etc. This widget is perfect to place on your “about us” page. The element will look something like this: