Here's an overview of what we cover in this article:
- What is Smartwaiver?
- How to create a digital waiver in Smartwaiver?
- How to integrate Smartwaiver with your TrekkSoft account?
- How to create API key V4 in your Smartwaiver account?
- How to add Smartwaiver template to activities in TrekkSoft?
- How confirmation email look like when customer receive it?
_______________________________________________________
What is Smartwaiver?
Smartwaiver provides businesses a powerful, reliable, and user-friendly digital waiver solution that helps you easily collect waivers from customers. The platform converts your waivers into electronic documents that customers can sign ahead of time. Customers can sign directly from any computer, tablet, mobile device or a dedicated on-site tablet.
TrekkSoft's integration with Smartwaiver allows you to incorporate waivers into your overall booking process.
With Smartwaiver, you'll no longer need to worry about missing clipboards, missing waiver details, and waiver storing issues. Forget about printing waivers and let your customers effortlessly sign them at their convenience.
_______________________________________________________
How to create a digital waiver in Smartwaiver?
Check out Smartwaiver Help Center articles to get more details about:
_______________________________________________________
How to integrate Smartwaiver with your TrekkSoft account?
Follow the steps below to Integrate Smartwaiver into your TrekkSoft account:
- Go to Settings > Merchant Settings > Apps in your TrekkSoft dashboard
- Find the SmartWaiver and click on Configure.

- You'll be asked now to provide your unique API key from your Smartwaiver account. Note that we require API key version 4 (V4) for this integration. Paste it into the field below. Select "Yes" from the drop-down menu and Save it.

_______________________________________________________
How to create API key V4 in your Smartwaiver account?
Check out Smartwaiver Help Center article to get more details about How to create a Smartwaiver API key?
_______________________________________________________
How to add Smartwaiver template to activities in TrekkSoft?
Now, select the templates you have created in Smartwaiver and allocate them to your activities.
- Click on Add Template.

- Allocate activities to the Smarwaiver template and click Save.

- After allocating the templates to your activities, your Smartwaiver configuration should look something like this.

- Lastly, add SmartWaiver placeholders to the Booking Confirmation Email template so your guests can click on the link and sign the waiver when they receive their activity tickets.

-
We've created the {waiverDisclaimer} placeholder that informs the buyer about this, so we recommend to add it to the email template as well.


IMPORTANT NOTE! The email is always ONLY sent to the person who booked and paid for the trip, so if there are more guests that need to sign the waiver, it's the buyer's responsibility to share the link with other participants.
_______________________________________________________
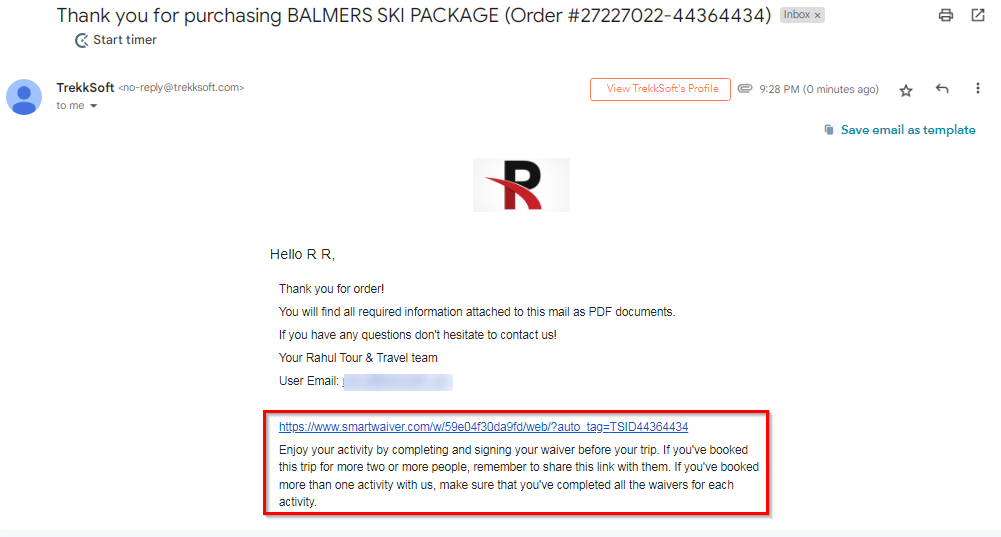
How confirmation email look like when customer receive it?
This is an example of how the confirmation email will look like:
NOTE! Digital waiver signage laws can differ from country to country, therefore we strongly recommend to consult with your legal advisor before creating your waivers.
Check out this important article to learn more about Managing Smartwaiver.