Do you need the button to be displayed in a way that is not supported by our Basic Customizations?
No worries as it is possible to further customize the style of the "book now" button by doing changes to the CSS style.
In order for the changes to be recognized we need to make a reference to our booking widget "book now" button with using following sentence:
::part(trekksoft-booking-widget-button)
Example
Find bellow an example when applying a custom style by using external CSS file sheet that changes the position and width of book now button on all the sites of your webpage.
Note that before Nov 15th 2022 we were referring to the button simply with "button" and now we have to use "::part(trekksoft-booking-widget-button)"
"customStyle.CSS"
/* Button Customisation */

.bookNowButtonCustom ::part(trekksoft-booking-widget-button) {
    width: 400px;
    margin-left: 100px;
}

/* Button Container Customisation */

.bookNowContainerCustom ::part(trekksoft-booking-widget-container) {
display: block;
}
For the changes to work it is important that we use the exact reference as mentioned in the example above.
"yourPage.HTML"
<html>
<head>
<link rel="stylesheet" href="customStyle.CSS">
</head>
<body>
<h1>My Custom Webpage</h1>
<div class='bookNowButtonCustom'>
    <!-- Code for the "book now" button as we can find it in our backoffice -->
    <script src="https://bw.trekksoft.com/loader.js" async data-owner="trekksoft" data-type="activity-booking" data-id="306804" data-client-id="BOOKIE-ba2e7051e5ed434d754806b06" data-token="378146dd3dff8511365f003a624513a64e3f86a8da5054f4"></script>
</div>
</body>
</html>
IMPORTANT !
- You can find the code needed to integrate the ‘Book Now’ button in your TrekkSoft back office.
- For detailed instructions on how to access and implement it, please refer to the article How to Integrate the Booking Widget Into Your Website.
Preview of the example above as we would see it on the webpage:
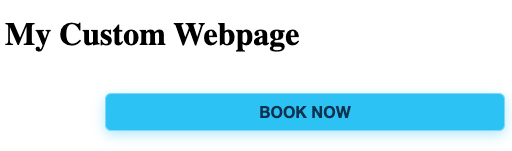
Note the wider and margined button.
Sample Example:
Here is an example code for customized button :
<html>
<head>

<title>My Custom WebPage </title>

<link rel="stylesheet" href="customStyle.CSS">

<style>

/* Button Customisation */
.bookNowButtonCustom ::part(trekksoft-booking-widget-button)
{
    width: 400px; margin-left: 100px;background-color:blue; color: orange; border: solid, 5px, yellow;
}

/* Button Container Customization */

.bookNowContainerCustom ::part(trekksoft-booking-widget-container)
{
display: block;
}
</style>

</head>

<body>

<h1 style="margin-left:100px;color:green;">My Custom Book Now button</h1>

<div class='bookNowButtonCustom'>

    <!-- Code for the "book now" button as we can find it in our backoffice -->

    <script src="https://bw.trekksoft.com/loader.js" async data-owner="trekksoft" data-type="activity-booking" data-id="333047" data-client-id="BOOKIE-a8956e929e2a2514a6a9d3566" data-token="cb8c7f69d7f5a917d56d47fe428e4a3cf38011dc0fbb4f23" data-label="Custom Book Now"></script>

</div>

</body>

</html>
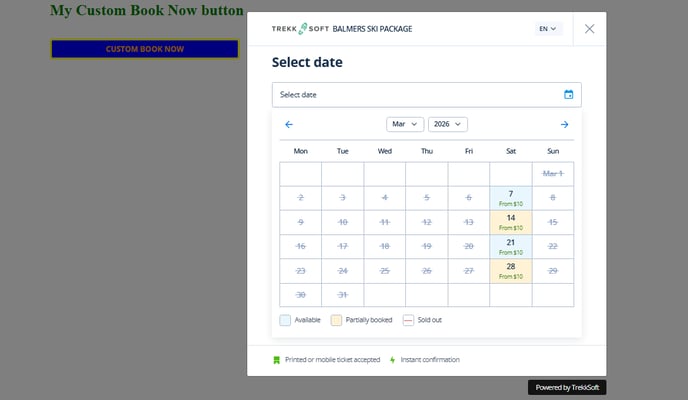
Here are the reflected changes:
If you have any further questions or need assistance customizing the button, please contact our Support Team at support@trekksoft.com and we’ll be happy to help.