Last update [October 22, 2025]
Time To Go Live! 😀
Once you’ve created an activity, added schedules and prices and filled out your profile information, you can activate your store! Once you hit the “Enable Store” button, you’re ready to take bookings online.
Here’s How...
There are two ways to enable your store:
The first option is directly from your Dashboard (In your Admin Desk). Once you have completed the first four steps of your account set up, you will see a message asking you to enable your store. Simply click on the button (shown below) and your store will be activated.
If you have any questions, check out our help articles here and click on the 'Getting Started' option or directly use the links below:
- Step one: Your TrekkSoft Dashboard
- Step two: Create Your Activity
- Step three: Create your Schedules
- Step four: Create Your Pricing
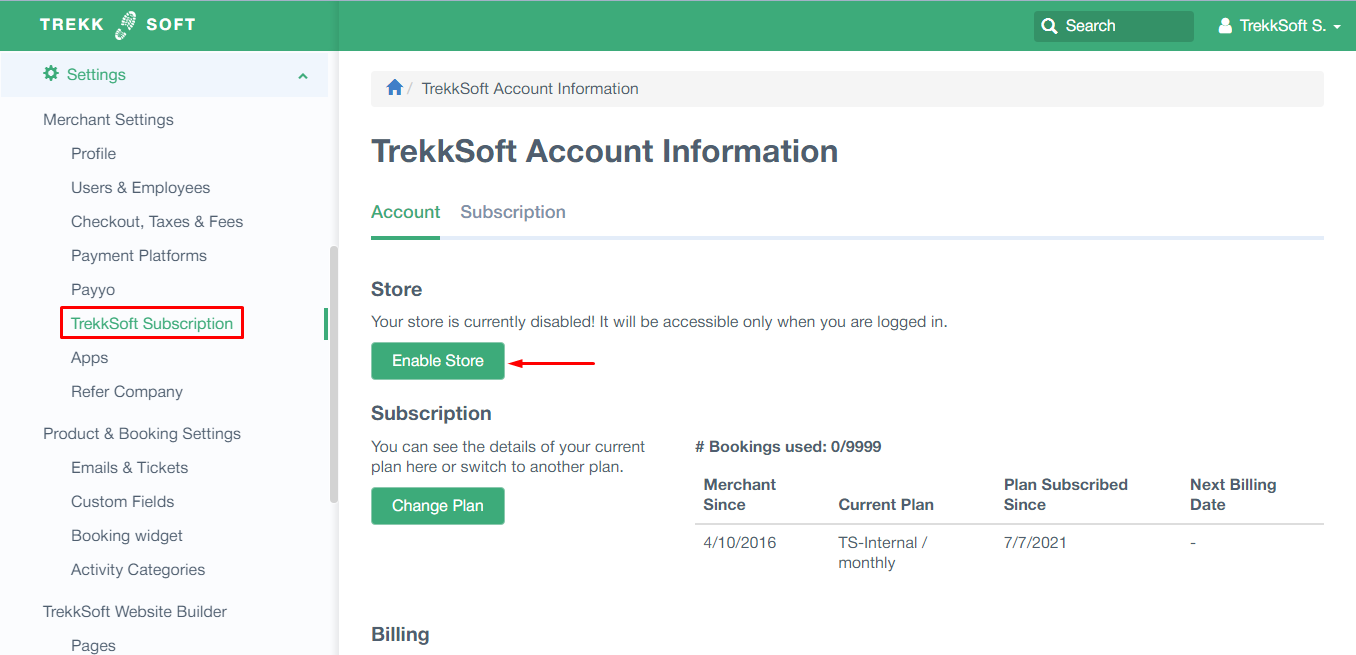
The second option is from your Account Settings. To get to your account settings, click on Settings in the main left navigation, then under Merchant Settings select TrekkSoft Subscription from the drop-down menu.
You’ll be brought to a new page where you’ll find the Enable Store button. The button is located underneath the Store menu. Click on the Enable Store button and your store will be activated!