Here's an overview of what we cover in this article:
- Overview
- Setting up your property.
- Configuring data stream.
- How to implement GA4 Tracking for your website.
- How to check Widget Parameters.
- Parameters of the Widget.
- How to track Conversions.
- How to setup a funnel.
- Is it possible to setup a "Thank you page redirect" for the widget?
- Is it possible to also use UA at the same time?
_______________________________________________________
Overview
By using this feature, Google Analytics will track the booking journey of a customer if it was done on your website or using the Widget - with this data you can track "Conversions" which are customers who has made it to the "Thank you page" of your website which is an indicator of a completed booking.
_______________________________________________________
1. Property Setup
First of all, you’ll need to create an Analytics account on Google on which you can do here.
Once you’ve created your Analytics account, you’ll have to create a property that you’ll use to track data.
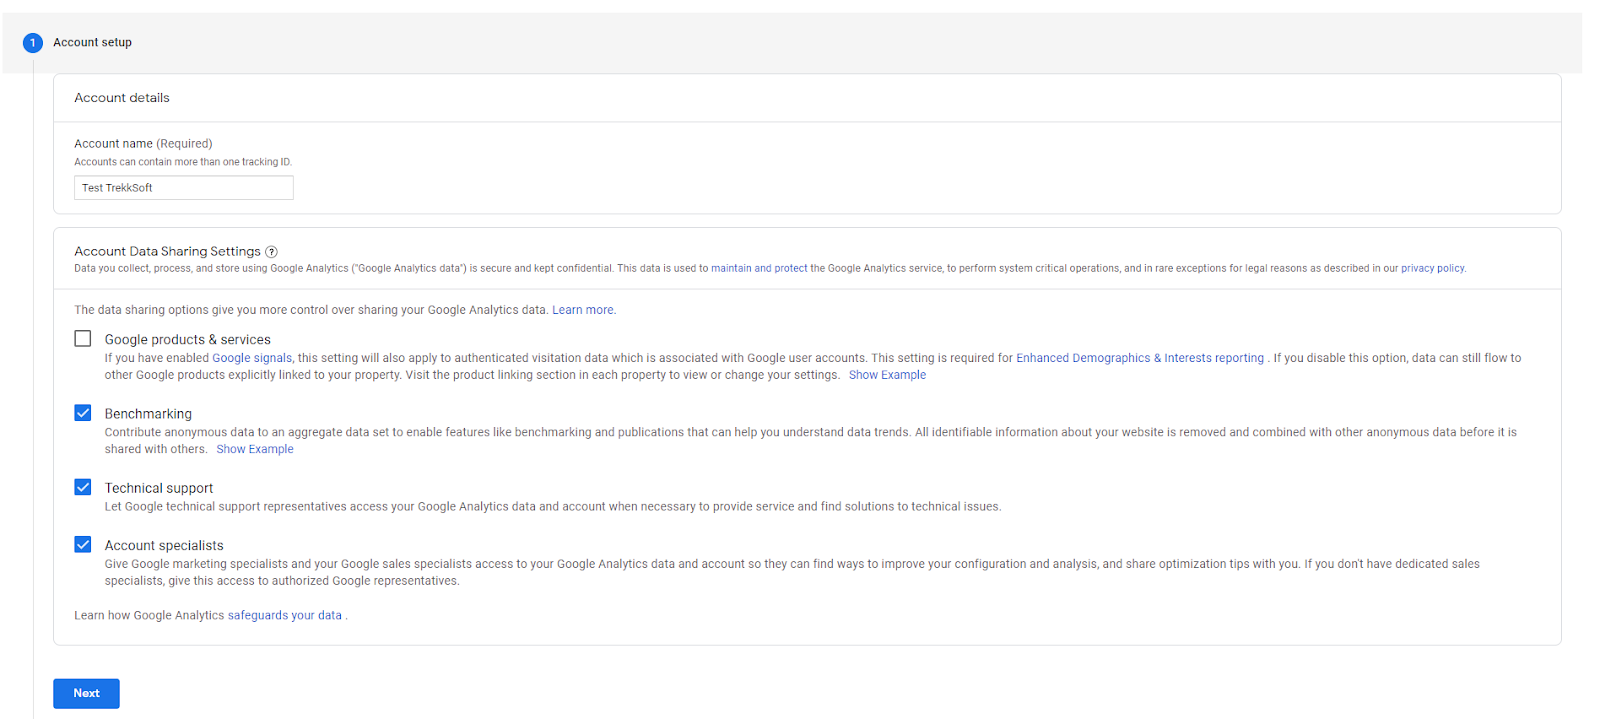
Enable options as you see fit for your business.
Once all done, hit Next to continue with your setup.
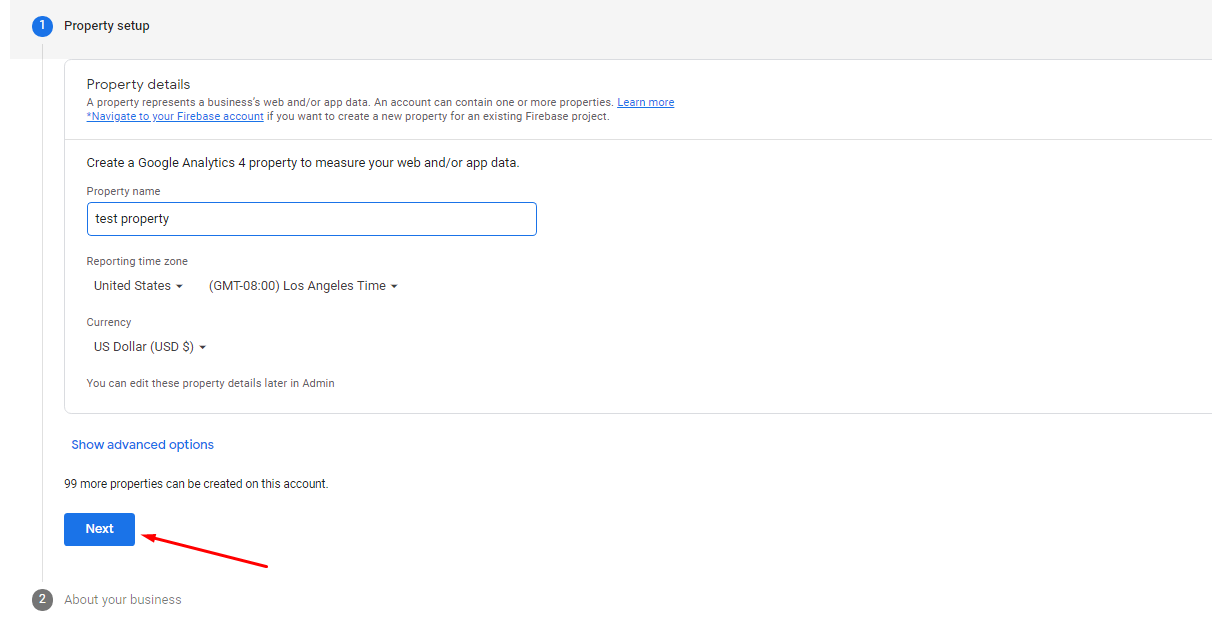
Continue adding more information about your business on the next section of the property creation.
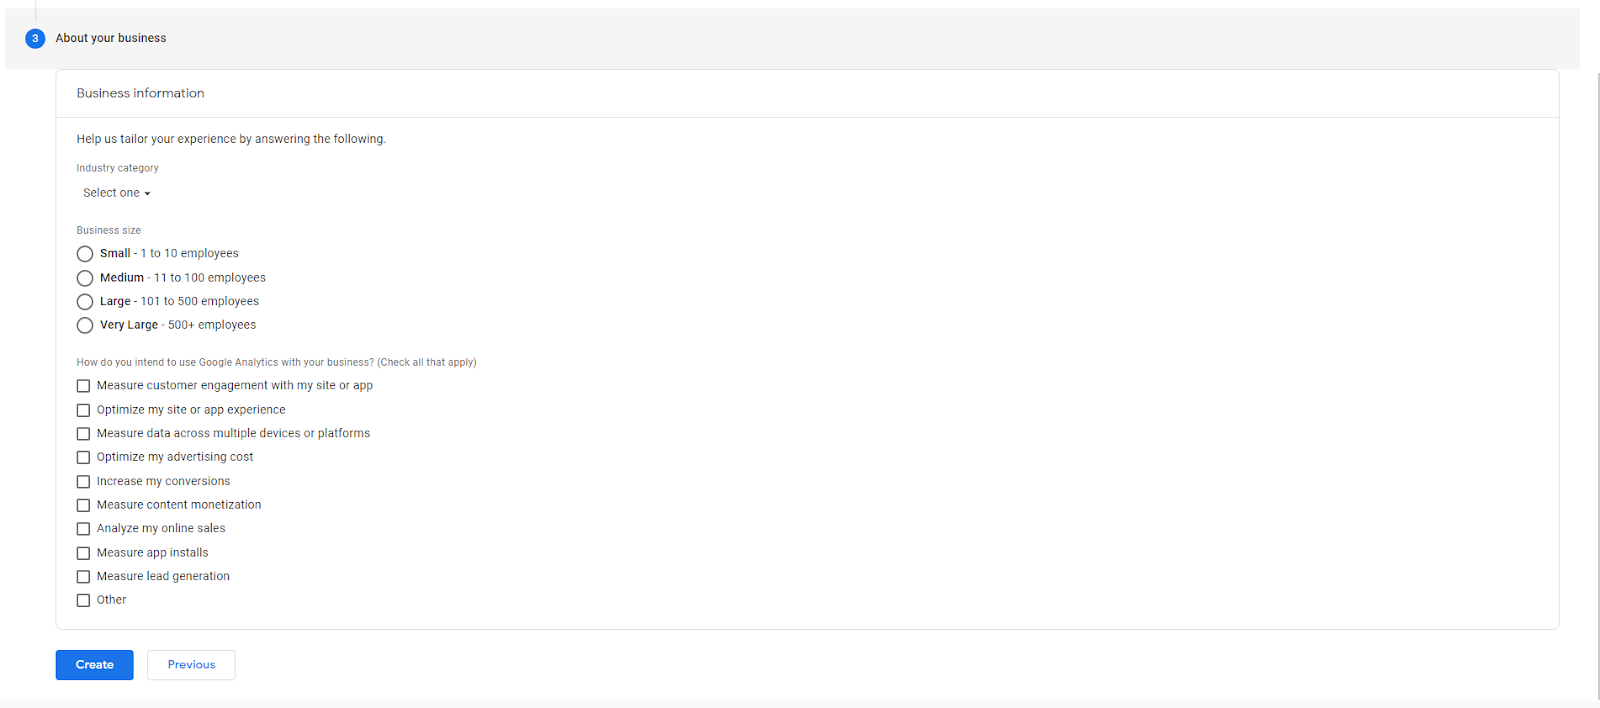
Once you’ve hit Create, it will then show the Terms and Conditions for using Google Analytics.
2. Setting up the Data Stream for your website.
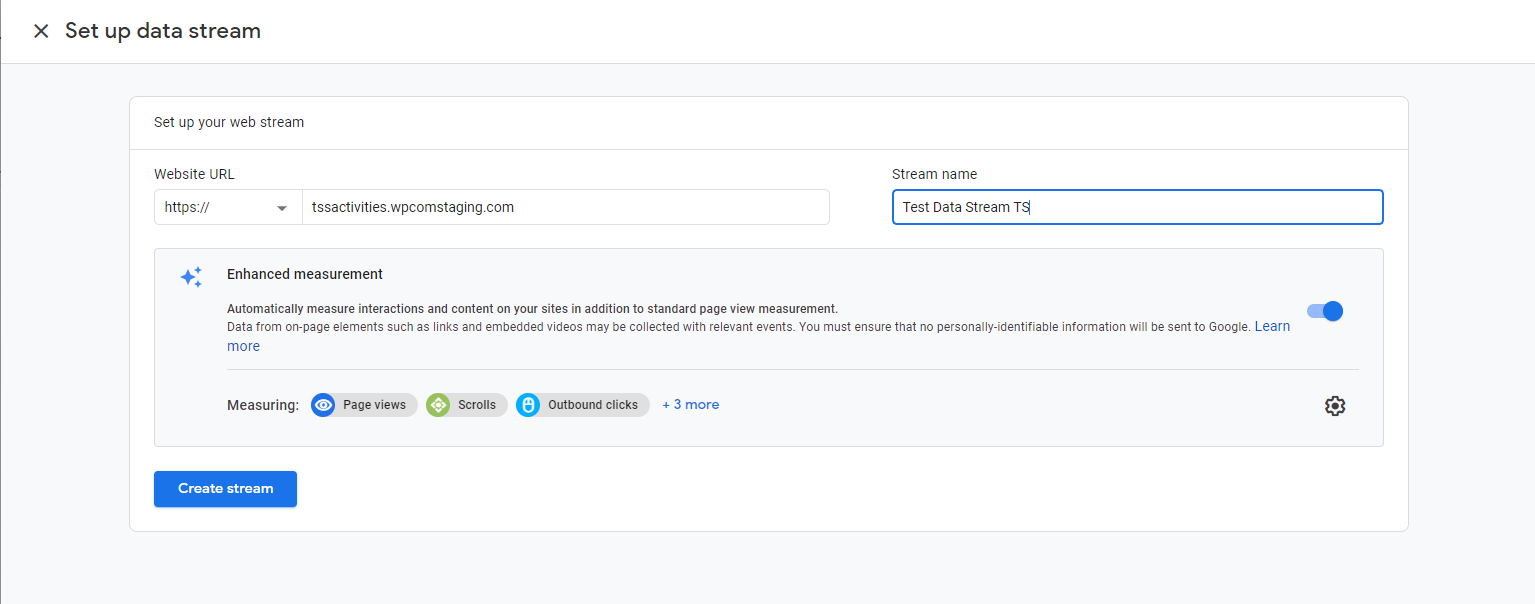
You will now be able to create the Data stream for your business. As for our test, we will be using the Platform “Web” as we’re only going to track our Booking Widget on an External website like wordpress.
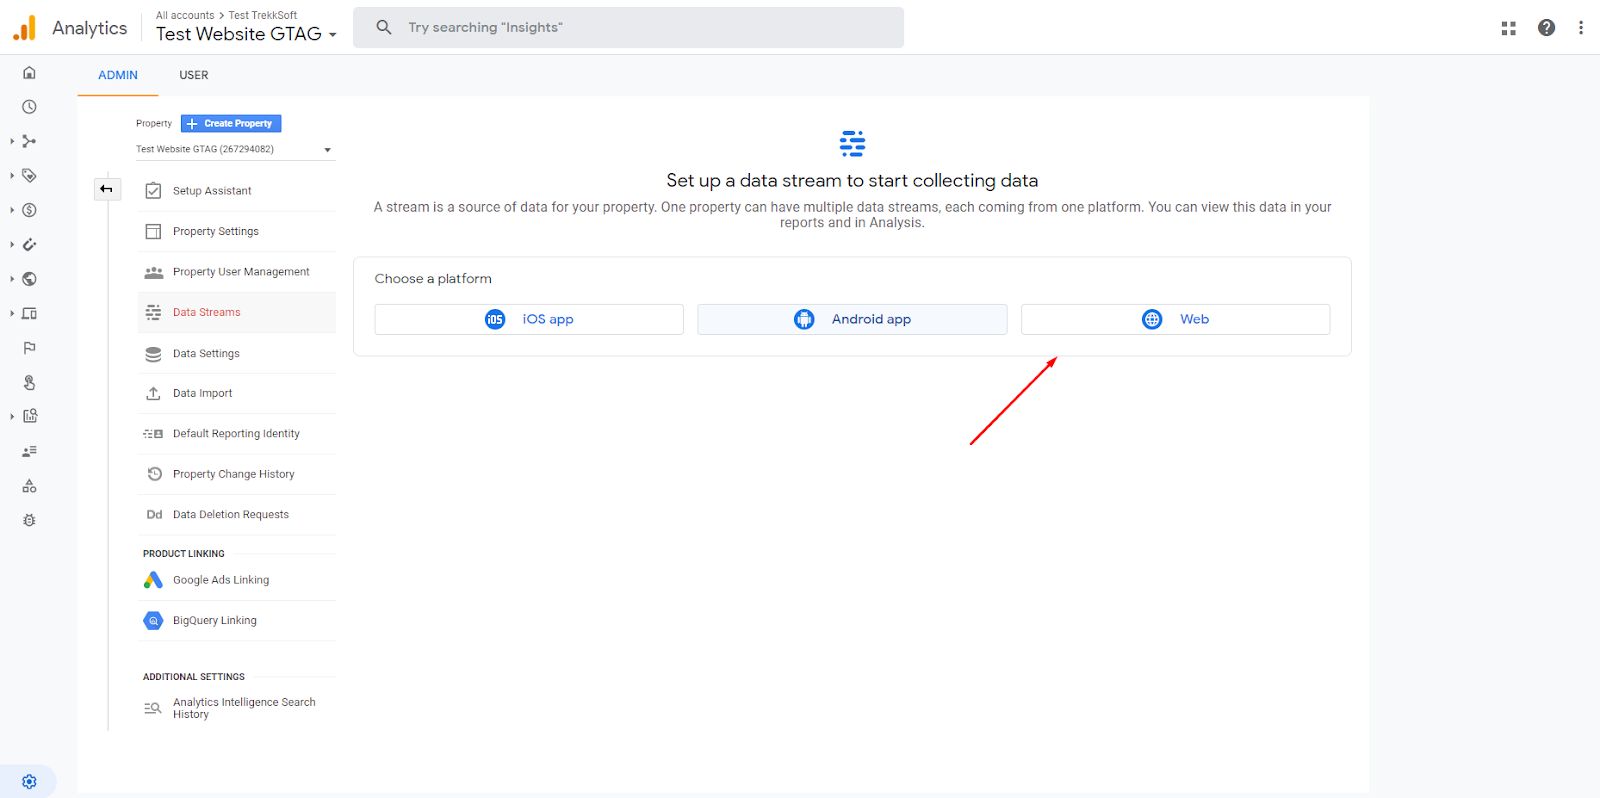
Once you’ve selected your desired Platform, enter the websites URL along with the Stream name of your choice. Once all done, hit Create stream.
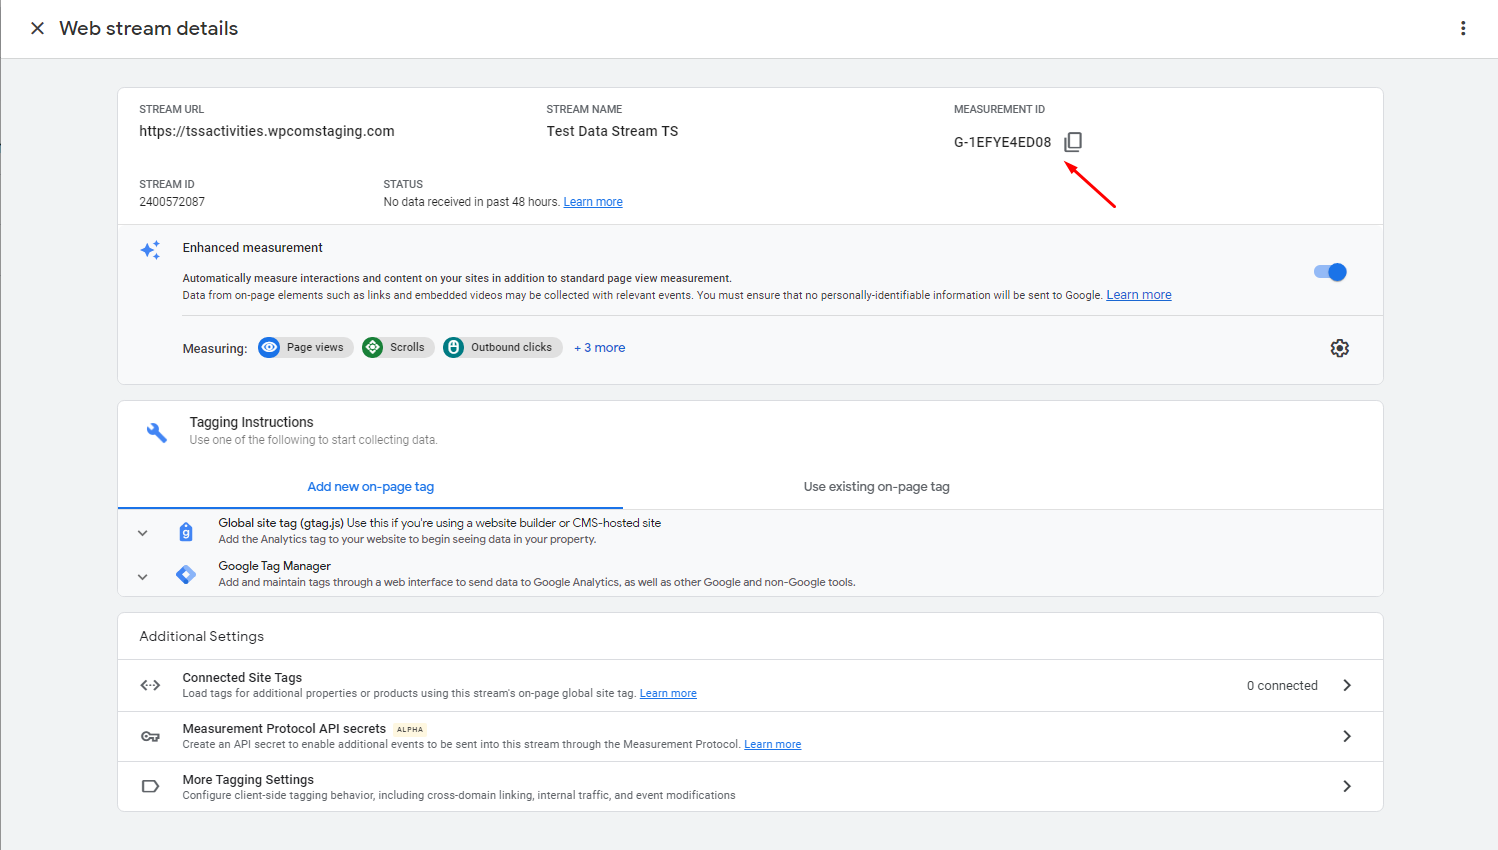
You will be then redirected to the Data stream settings that you’ve created. From there you’ll see the Measurement ID that you need to collect for your TrekkSoft website. Copy this code to proceed to the next step.
3. Enter the Measurement ID on your TrekkSoft website.
Once you've copied over the Measurement ID, go to your TrekkSoft website and then go to your Google App page, you can get to this page by navigating to Settings > Apps > Google from your TrekkSoft Admin Desk.

Insert the Measurement ID that you've collected earlier on the Google Analytics section and then Enable the "Enable E-Commerce Tracking Code" if you're going to use the Ecommerce for your Google Analytics. Once done, click Save.

Once you’ve inserted the Measurement ID on your TrekkSoft website, give it some time as there is a caching delay before the Tracking gets reflected on your Google Analytics account.
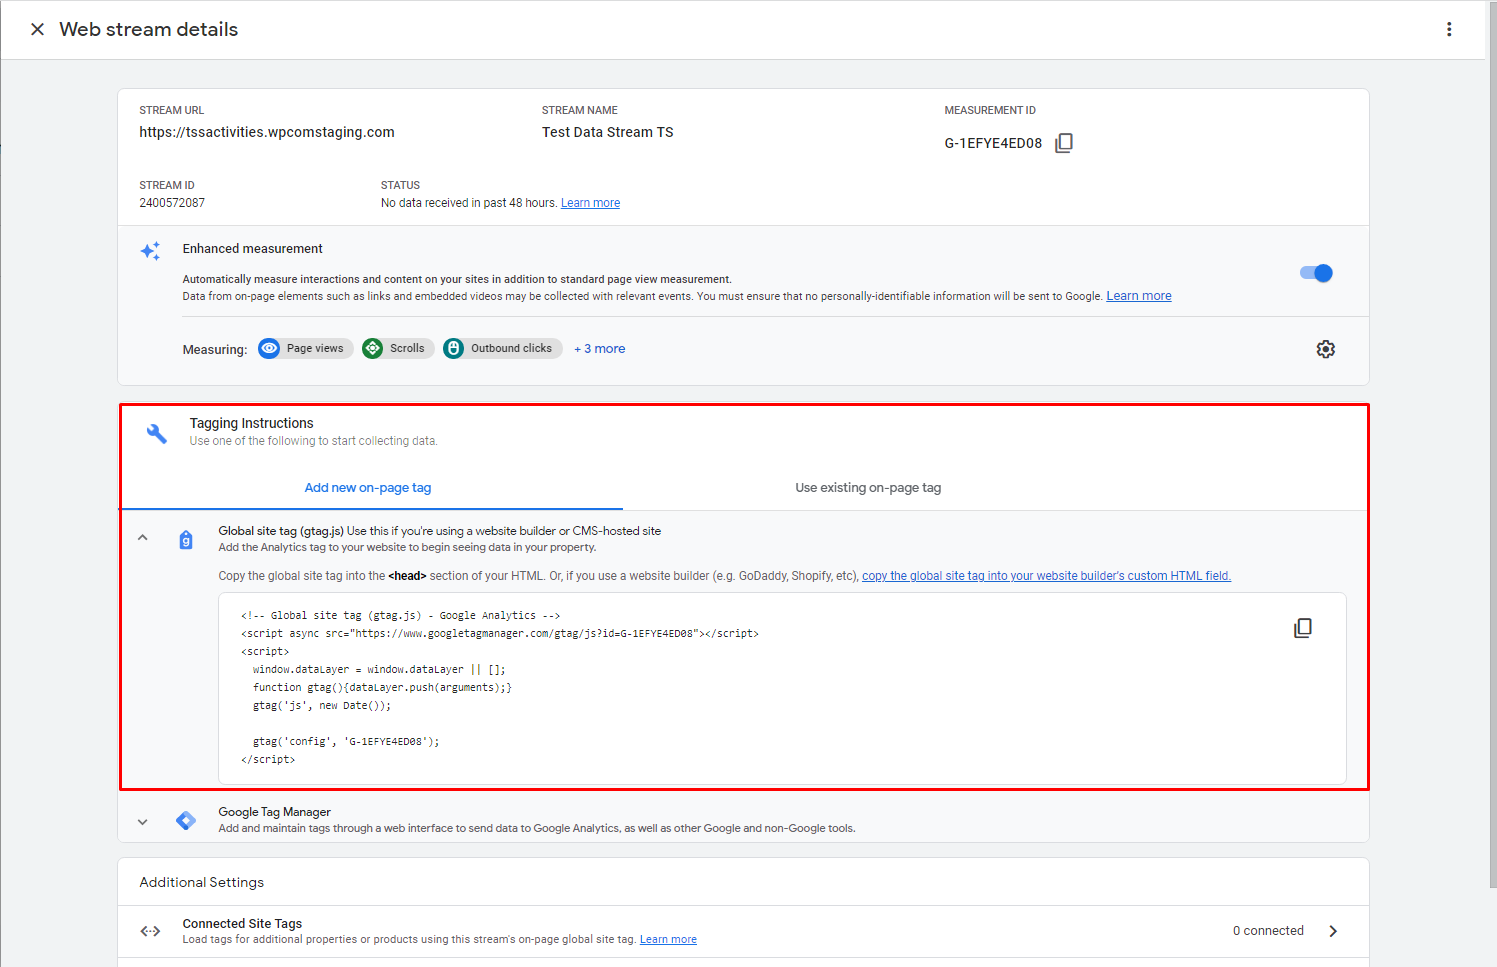
4. Enter Google Site Tag on your TrekkSoft website.
Go Back to your GA analytics Data streams and then Copy over the Google Site Tag
Once that is done, go back to your TrekkSoft Backoffice and then go to Settings > Merchant Settings > Checkout, Taxes & Fees

In the window on the right, navigate to Booking Settings > Checkout . From here enter the Tracking code on the Tracking > Conversion Tracking Codes section. Once done, click Save button at the bottom of the page.

By doing these steps, it should now generate Widget event parameters that you can use for Conversions.
How to see Widget event parameters triggered by customer
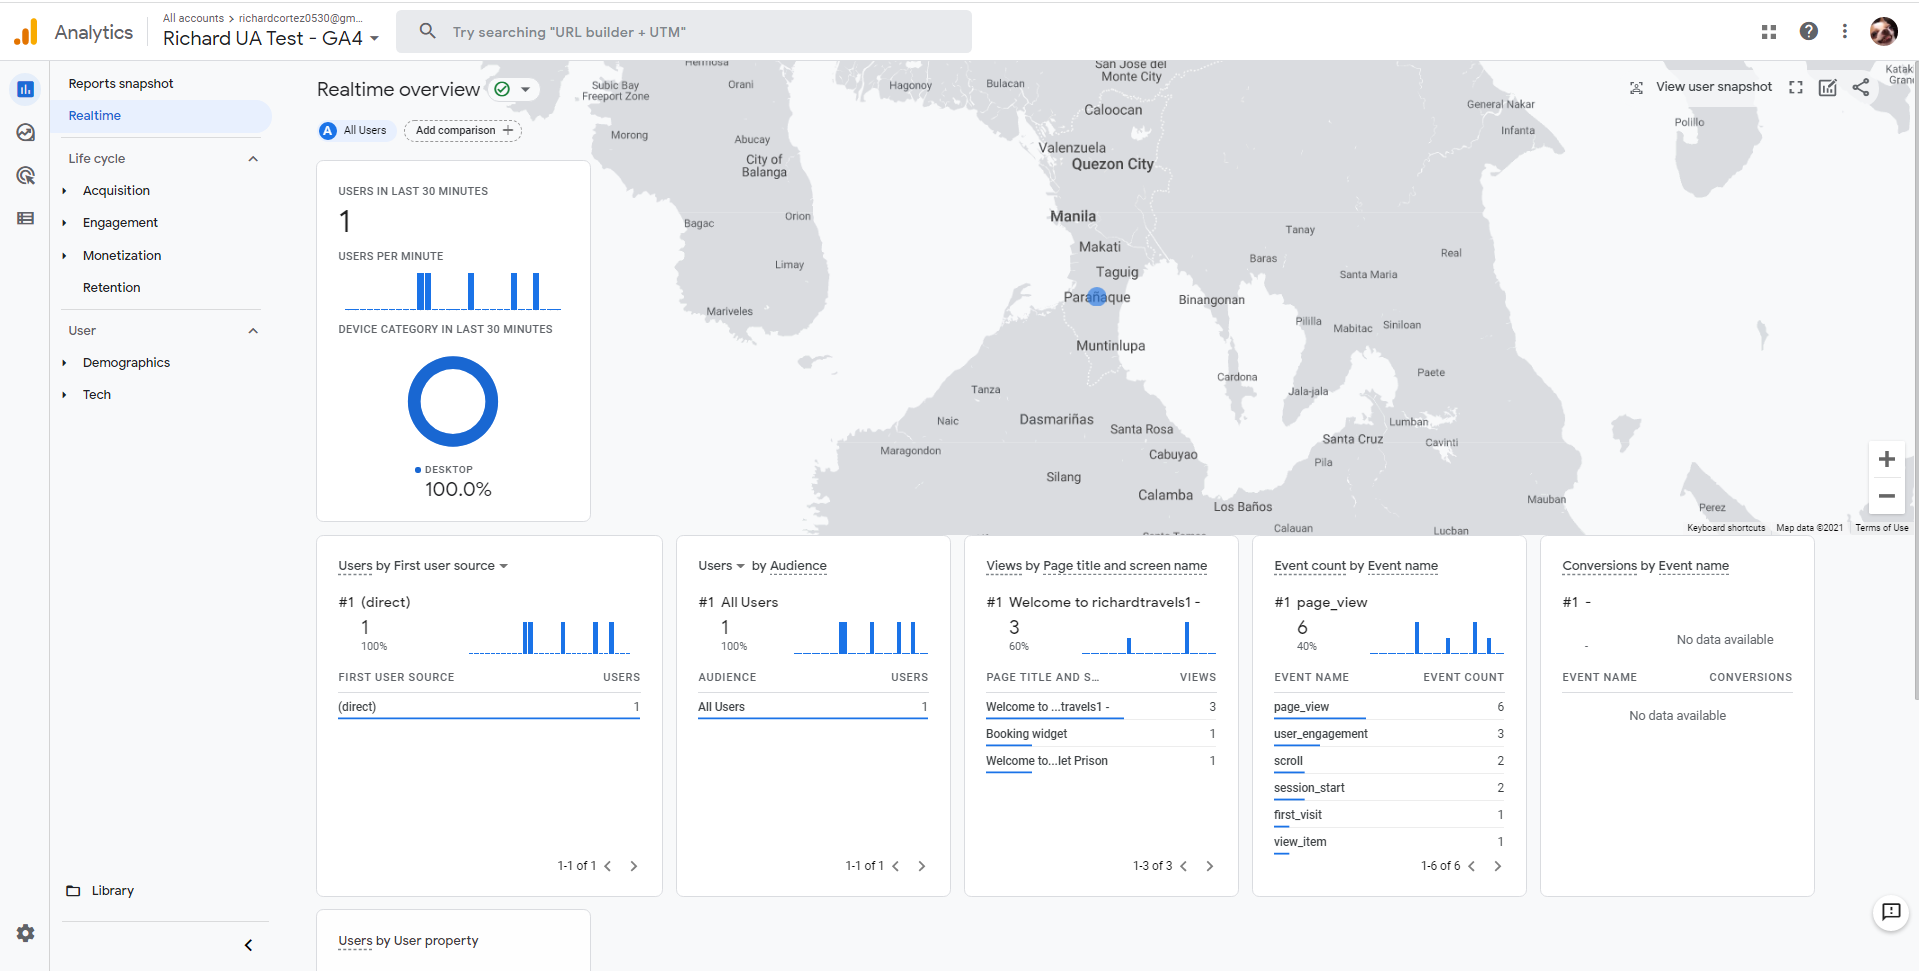
From your Analytics Dashboard, go to Realtime
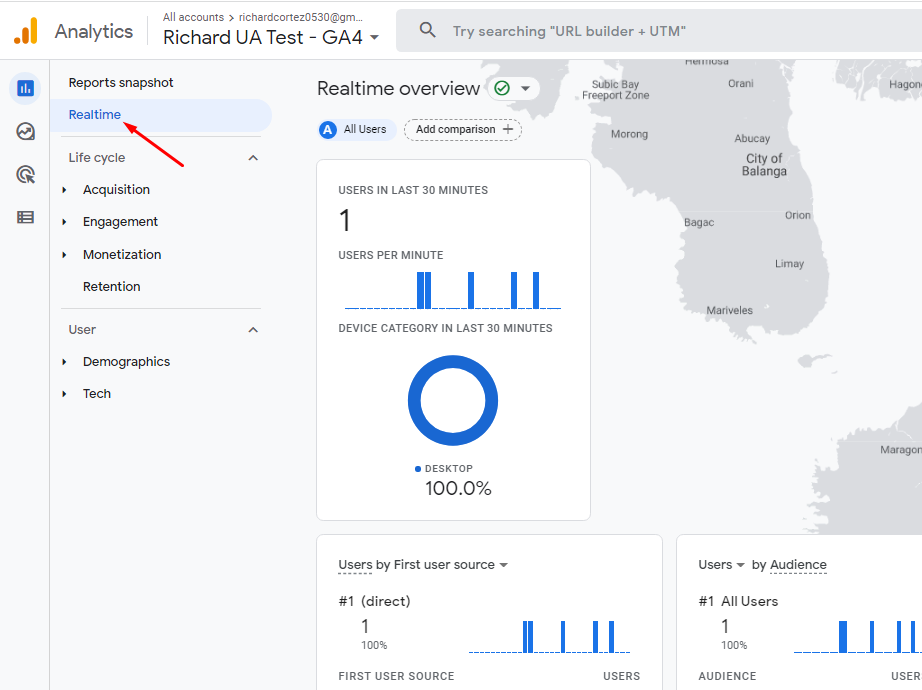
From there you should be able to see the “Event Count by Event Name” Report, and from Navigate to Page View > Page Path, and then from there you'll see the Widget Parameters.

_______________________________________________________
Here are the widget pages that each parameters represent:
These are the steps of the booking process when a custom uses the booking widget when purchasing your products.
- /*language*/widget/scheduleType - this event parameter gets generated after the customer has chosen the date for their booking. These are the schedule options that you have created for your activity.
- /*language*/widget/Calendar - this event parameter gets generated if the customer has viewed the calendar part of the widget.
- /*language*/widget/tickets - this event parameter gets generated when the customer is viewing the pricing options that you have created for the activity schedule.
- /*language*/widget/addons - this event parameter when the customer views the addons that you have created/allocated for your activity
- /*language*/widget/checkout - On this event parameter here the customer will enter the buying user details, discount code application, the confirmation of the Terms of service and Privacy Policy.
- /*language*/widget/guests - On this event parameter the customer will enter the guest information for the participants of the booking.
- /*language*/widget/book - this event parameter gets generated once the customer has landed on the Payyo payment page.
- /*language*/widget/thankyou - this event parameter gets generated once the booking has been completed and has redirected the customer to the thank you page of the booking process.
How to track Thank you page Conversions using the Event parameters?
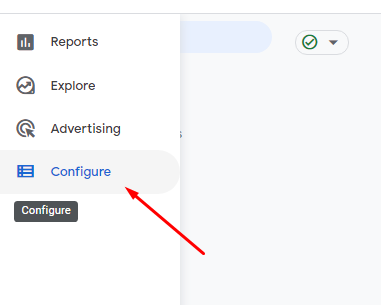
On the Right side panel of your Google Analytics dashboard, simply go to Configure
From there, go to the Events Tab and then look for the Event name "hpp-status-success" and then mark it as a conversion as this is the Event trigger for the Thank you page.
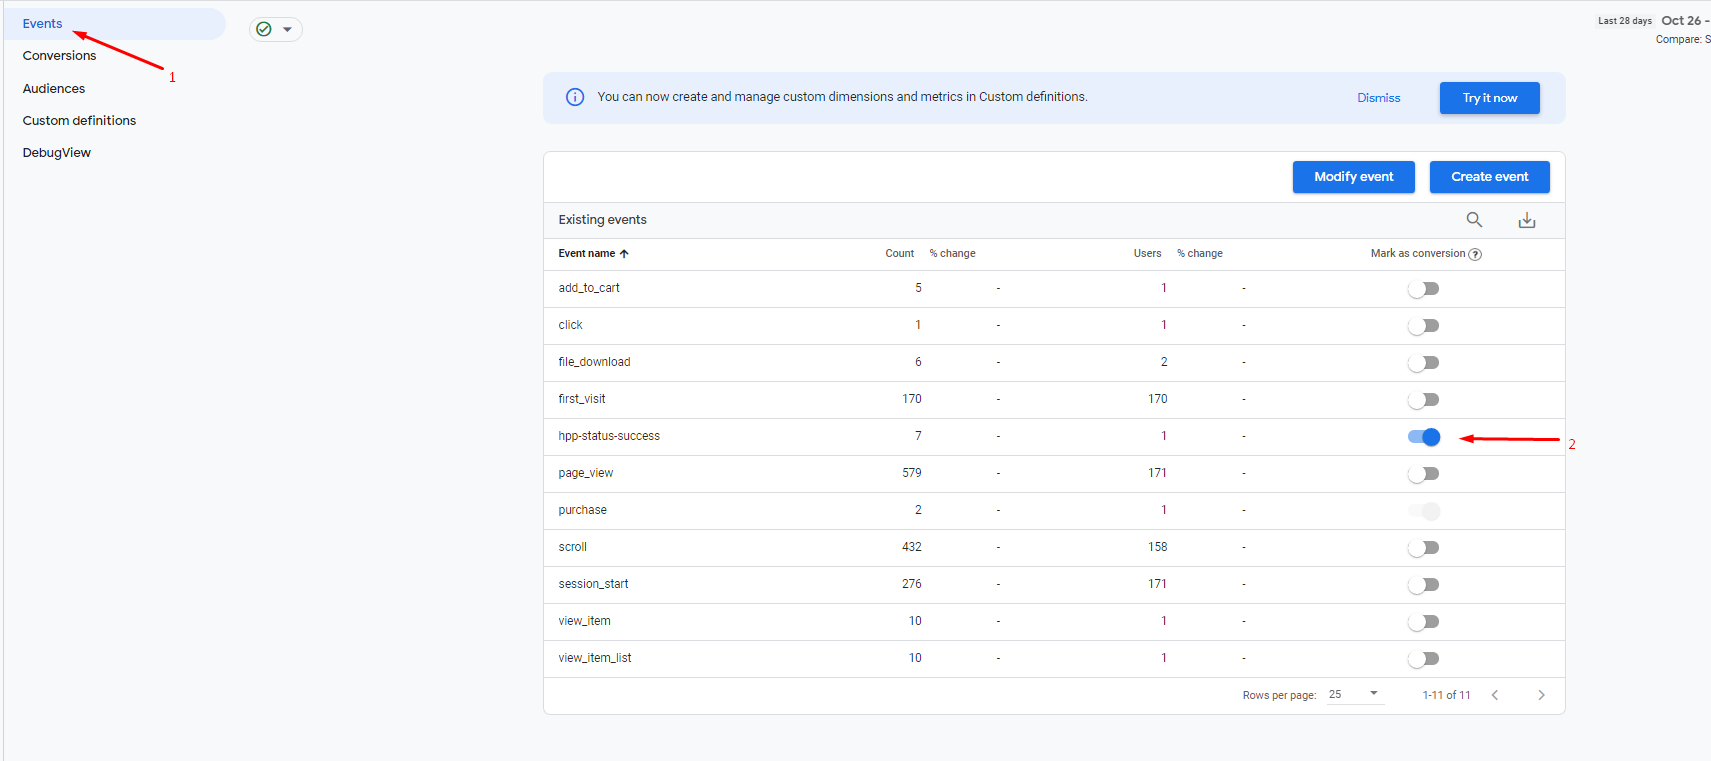
Next, go to Conversions tab and then Enable the parameter "hpp-status-success" again so that it'll start generating Conversion reports for the said Event Parameter.

_______________________________________________________
Which Event to use as a Conversion?
We have 2 "Thank you page" Event Conversions that you can use this is so that you can have the option to choose which conversion fits your business.
Hpp-status-success: This conversion ONLY tracks all Payment gateway successful payments. This does not track any Free Tours or 100% Discount/Voucher bookings as it will not go through a Payment Gateway.
Booking-success: This conversion tracks both Payment Gateway and 100% Discount/Voucher code redeems, and even Free Bookings (applied for Free Tours type of activities).
Notes:
- There is a bit of a delay before Event Parameters gets tracked which usually takes not a day more on when the transaction has been made. Meaning if a customer books for an activity of yours using the New Widget, all the Event log will only be displayed the following day.
- Difference between UA and GA4 Properties is that, in UA user are tracked in sessions whereas in GA4 everything is tracked based on Events, which means that if a user returns on a site, GA4 records the events that they have completed.
- If you would like to configure your Ecommerce funnel flow, you may use these event parameters for the funneling:
- hpp-status-success
- hpp-status-cancel
- page_view
- ecommerce.purchase
- ecommerce.view_search_results
- ecommerce.view_item_list
- ecommerce.view_item
- ecommerce.add_to_cart
- ecommerce.remove_from_cart
- date-selected
- price-category-selected
- date-selected
- price-category-selected
_______________________________________________________
How to setup ecommerce funnel?
Setting up a funnel on your account will help you track how many customers has dropped off which specific part of the booking process they left. This gives you an opportunity to improve the booking process that your customer goes through when booking for your activity.
On your GA4 Account go to Exploration
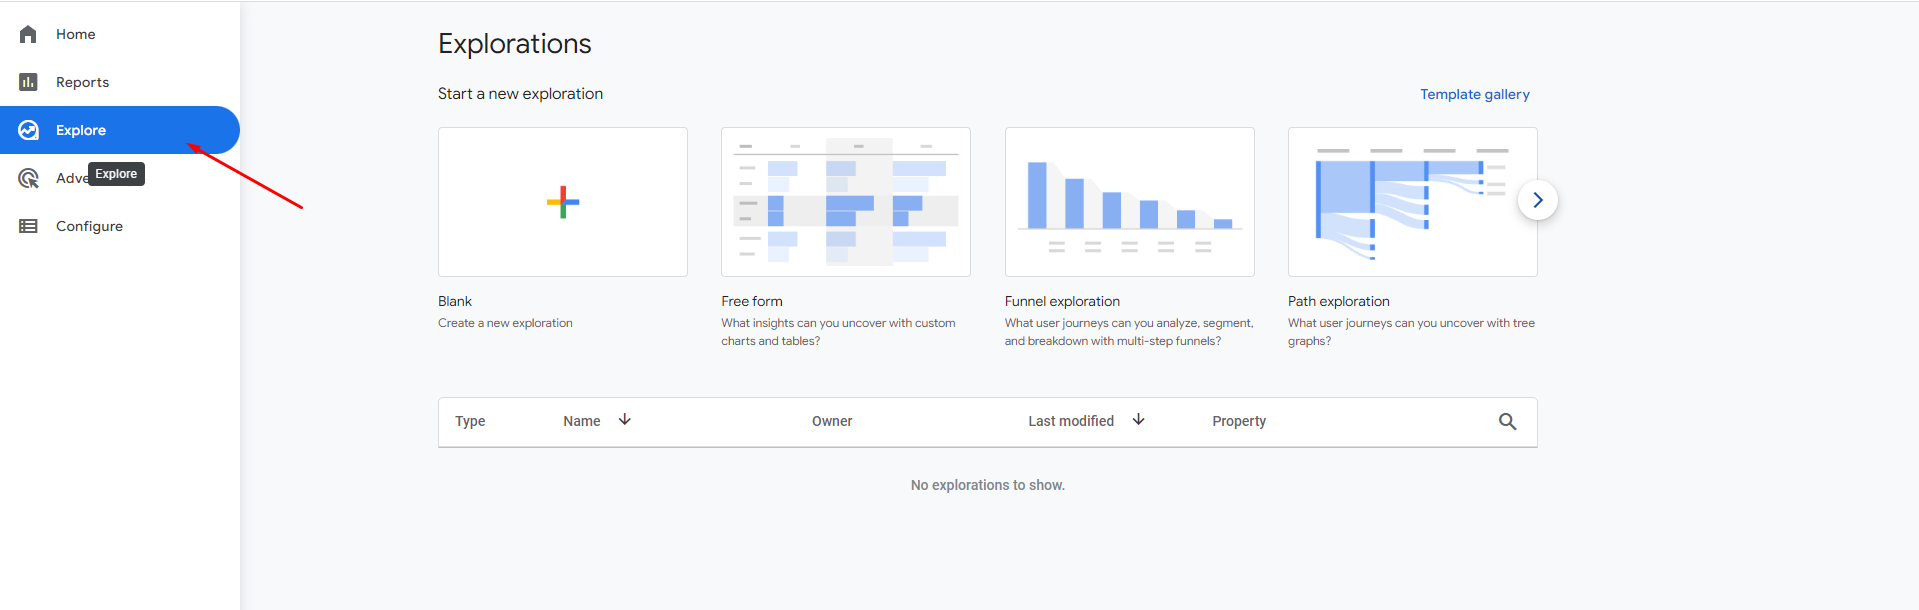
When choosing on the exploration type, we recommend using a "Blank" one so that you can freely customize what you would like to see on your funnel.
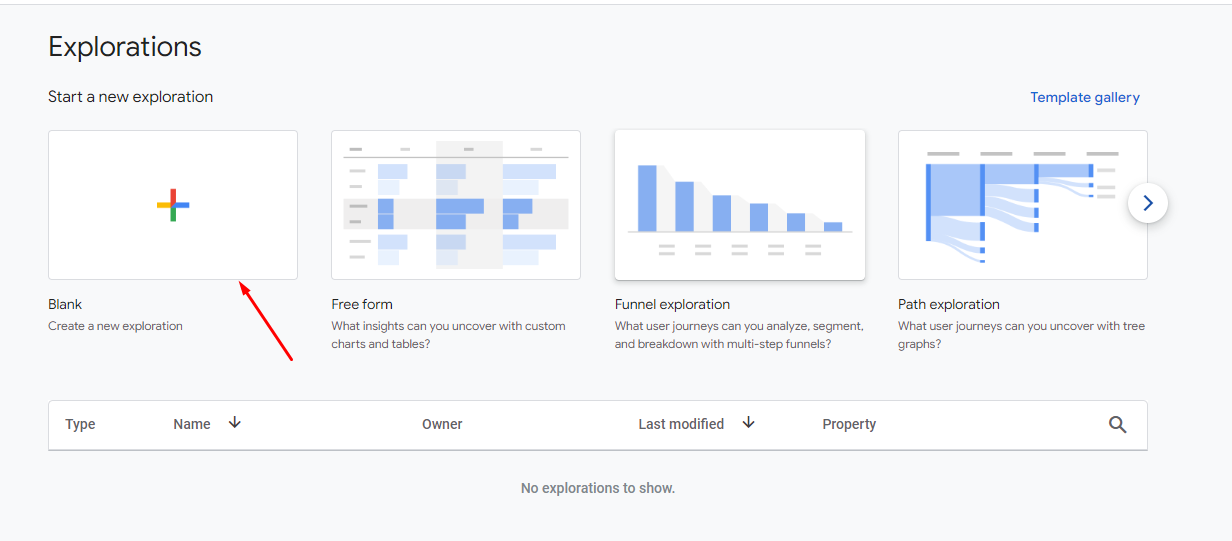
From there we suggest that you use the technique "Funnel Exploration" and then you can add the steps of your Funnel process
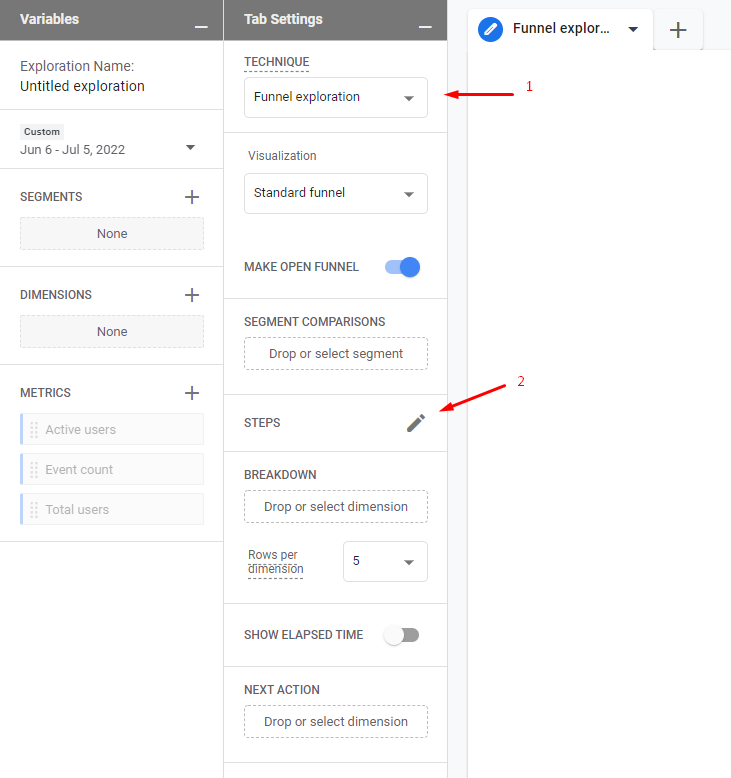
Here's an example of a completed setup for the funnel

_______________________________________________________
Is it possible to setup a "Thank you page redirect" for the widget?
Yes, it is possible to do a page redirect to a customized thank you page on your website. This way you'll have a designated page of a thank you page instead of using the widgets thank you page.
When entering the code on the Checkout, Taxes and Fees, add this code to the tracking section
Please do note that this only works with Modal type integration of booking widget.
<script>
if (window.location.href === "https://demo.trekksoft.com/bw") {
    window.location.href = "https://demo.trekksoft.com/thank-you";
}
</script>
What this does is that, when the customer is making a booking on your widget page "https://demo.trekksoft.com/bw" once the widget reaches the Thank you page, they'll be redirected to the thank you page "https://demo.trekksoft.com/thank-you"
_______________________________________________________
Is it possible to also use UA at the same time?
Yes, it is possible to use UA in Parallel with GA or other tracking such as Gtag or GTM.
You can add your own analytics to the [merchantTracker] group and the booking widget will be sending events to it.
When adding codes to your page use this code:
gtag("config", <ga_id>, {
    groups: ["merchantTracker"],
    ...
});
Google Help Article ! You can refer to Google Help page here, to know more information about Group and route data.